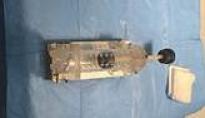
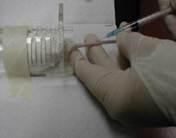
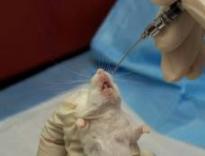
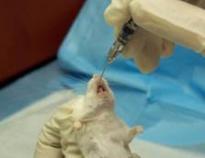
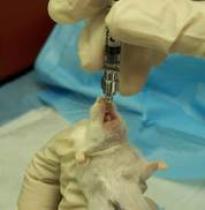
When performing oral gavage in mice or rats, it is extremely important to have the proper sized gavage needle. Selection will depend on the size of the animal. Gavage or feeding needles come in a variety of types, diameters, and lengths. They are stainless steel or disposable.
Basic Handling and Procedures for Rats and Mice
Restraint of Mice and Rats
Mice
Mice can be a bit of a challenge depending on the strain. Mice that have not been handled before, except for routine cage changing, can and do sometimes bite. They often vocalize and can be quite “squirmy”. They tend to hide under bedding and can be difficult to catch. Young mice will often attempt to leap from the cage in an effort to escape. If you will need to handle mice often during your work, it is advisable to begin handling them prior to the start of the study. This will enable you to become familiar with handling them and will allow them time to become accustomed to your handling and restraint process. It should be noted, though, that mice will not respond to frequent handling in the same way that rats do. Mice will always have a tendency to attempt to escape.
By Hand
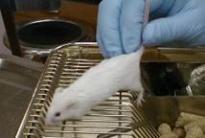
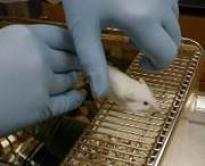
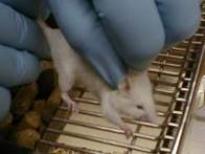
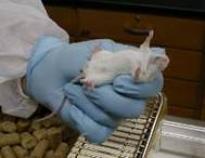
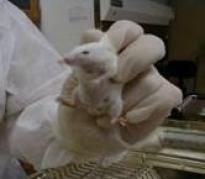
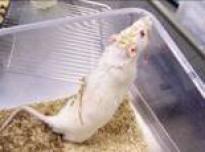
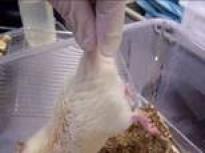
Grasp mouse by the base of the tail. Allow the mouse to “hold on” to the wire cage top. With your other hand, gently grasp loose skin at the scruff and back portion of the mouse, being careful not to inhibit chest expansion as this could cause respiratory distress. Secure the tail between your finger(s) and lift into position for examination, identification or other manipulations such as injection. Remember that this can take some practice so do not be discouraged if you are not totally successful on the first attempt.
In Restraint Apparatus
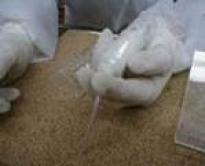
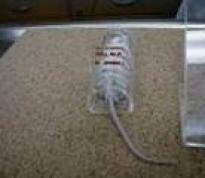
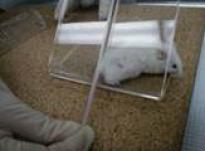
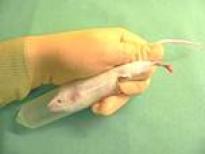
A 50 ml Falcon tube makes an excellent temporary mouse restrainer. HOWEVER YOU MUST REMEMBER TO CUT or punch holes in the tip end or cut off the tip in order to make sure that the mouse has a supply of fresh air. Otherwise, the buildup of carbon dioxide can adversely affect your animal. Additional information on mouse and rat restrainers can be found at the following websites: PlasLab Rodent Equipment or BrainTree Science.
Rats
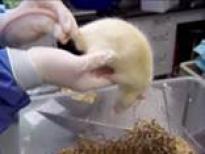
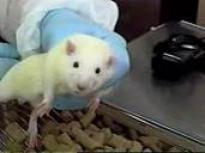
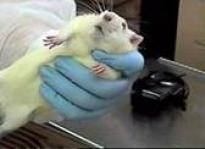
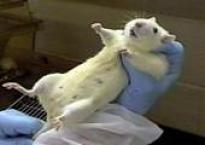
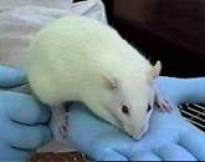
Most strains of rats are curious creatures and benefit from frequent handling. They are not, however, very tolerant of rough handling and can issue a painful bite. Like mice, some will vocalize when handled or restrained. Females tend to vocalize more than males. When handling rats, you must take into consideration the size of the animal you are picking up. Small to medium sized rats may be lifted comfortably out of their cages by their tails taking care to grasp the tail at the base NOT in the middle or at the end as this can be potentially harmful to the rat. Once out of the cage, they can be allowed to “stand” on the sleeve of your lab coat or Tyvek sleeve or supported in your hand. But remember not to let go of the tail. Larger rats can be lifted using their tails, but their bodies should be supported from underneath to prevent discomfort and possible injury. Rats may, also, be grasped around their bodies. This method of handling is very efficient, and rats that have been handled in this manner are quite comfortable with this method when used. Of course, you should practice this technique so that both you and the animal are comfortable with it.
It should be noted that female rats with litters may be very protective of the pups, so caution should be taken to avoid injuries to both handler and animals.
In Restraint Apparatus
The use of various types of restrainers from the traditional flat bottom restrainers or the plastic sleeve-type decapicones or modified restrainers such as a small towel to wrap the animal in can be used with working with rats.
Additional information on restrainers can be found at the following websites: PlasLab Rodent Equipment or BrainTree Science.
Blood Collection Techniques (Venipuncture)
Submandibular in Mice and Rats
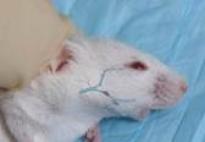
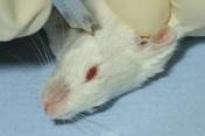
Submandibular blood collection in mice and rats is an effective technique for drawing small to moderate blood samples. It can take the place of more invasive techniques and does not require anesthesia. The technique, with proper training, is quick to master, and can be safely used for multiple sampling when adequate time is allowed for the animal to recover.
- Cup the free hand over the mouse, and scruff it firmly using the thumb and first finger.
- NOTE: It is critical that you hold a lot of skin. Your fingertips should be touching or almost touching the mouse’s elbows.
- You know you have enough skin when
- The mouse’s eyes bulge somewhat (just as if under anesthesia and totally relaxed)
- The mouth is held open
- The forelegs stick out to the sides
- You should now have the mouse gently and securely restrained in your non-dominant hand and be able to pick the mouse up.
- Locate the hairless freckle on the side of the jaw.
- Pick up the sharp instrument of your choice (lancet or needle) with your free hand.
- Align your sharp instrument so that you are pointing it at the far side of the mouse’s face, at the base of the far ear or at the base of the far side of the mouth.
- Prick the mandible just posterior to the freckle with the lancet. Remember, there are several sizes of lancets. Use the one most suitable for the size of your mouse. If using an 18 gauge needle, go in only up to the depth of the bevel.
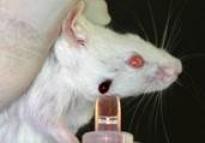
- Quickly drop the sharp into the sharps container and pick up your collection tube.
- Collect 4-7 drops of blood (maximum amount depends on frequency of bleeding—when in doubt, contact a DLAR veterinarian)
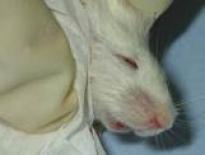
- Apply pressure to the collection site with a gauze pad or other suitable material until bleeding has stopped.
- Release the mouse into its cage when you have ascertained that bleeding has ceased. Observe the mouse for several minutes to be sure that bleeding does not reoccur, and the mouse is acting normally.
|
|
Saphenous Vein in Mice and Rats
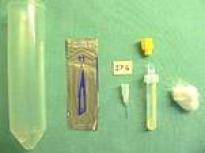
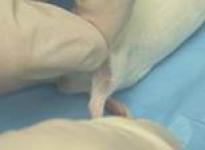
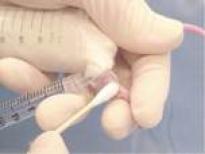
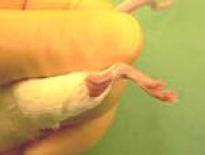
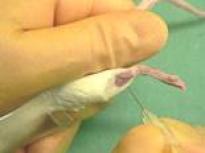
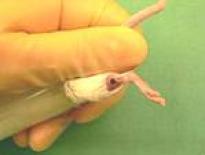
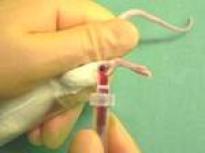
The saphenous vein blood collection technique is a simple method of blood collection and can be accomplished without the use of anesthesia or undue stress on the animal. It is commonly used for repeated blood collection (after the animal has had sufficient time to recover) and can be easily learned. * IMPORTANT to remember; If you are using a 50 ml Falcon tube as a restrainer, REMEMBER to put holes in the bottom so the mouse will have a supply of fresh air. Removal of hair will increase visibility in locating the blood vessel. Apply a thin coat of petroleum jelly (Vaseline) to the area just prior to blood collection. This will help to keep the blood from spreading into the surrounding areas making collection easier. Training videos are available.
Injection Techniques
Intraperitoneal (IP)
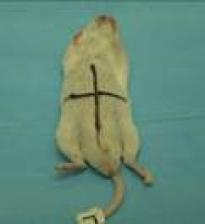
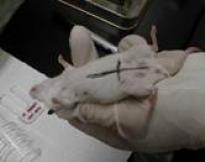
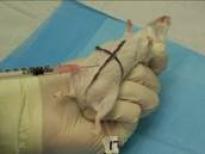
When restraining the mouse or rat, you should have the animal’s body tilted at an angle with the head pointing down to allow the organs to fall slightly forward. injections should be given in the lower quadrant of the mouse just to the left of the midline. You should always aspirate prior to injection to be certain that you are not in a vital organ or a blood vessel. You should use as short a needle as possible to avoid damage to internal organs.
Intravenous (IV) (tail vein)
The lateral tail vein is found on either side of the tail. Hold syringe at a 20–30-degree angle, with the bevel up. The needle gauge will, in part, be dictated by the viscosity of the material you are using, in most cases, a 23, 25, or 27 gauge needle is indicated. Remember that the younger the animal, the small your vessel will be. Dark animals may require a light source to help you visualize the tail vein. You should be careful with heat lamps as they can cause overheating. You should begin your injections starting low on the tail vein in case your first attempt is unsuccessful. Inject small amounts at room temperature slowly. Very cold materials may have an adverse effect on the animal and the blood vessel. The animal should be properly restrained and a warming source employed to make accessing the vessel easier.
Oral Gavage in Mice and Rats
Feeding Needles
Stainless steel Feeding needles with a round tip and Luer lock hub
| Gauge | Tip | Length |
|---|---|---|
| 20 | Live | 30 mm |
| 18 | 2.25 mm dia. | 50 mm |
| 16 | 3.00 mm dia. | 75 mm |
| 16 | 3.00 mm dia. | 100 mm |
These disposable feeding needles feature plastic luer hubs with silicone tips and are non-toxic and non-pyrogenic. Needles can be easily formed to any desired shape.
| Gauge | Length |
|---|---|
| 20 | 30 mm |
| 18 | 50 mm |
| 15 | 75 mm |
Recommended Injection Volumes, Needle Sizes and Blood Collection Volumes
| Species | IP (Intraperitoneal) | IV (Lateral Tail Vein) | Oral Gavage | Saphenous Vein Blood Collection | Submandibular Blood Collection |
|---|---|---|---|---|---|
| Mouse | 2-3 ml, <21-23 Gauge needle | 0.2 ml, <25 Gauge needle | Max volume per average adult (30-40 g body weight): 0.5 mls | 50-80 micro liters of blood per 10 grams of body weight *1 single sample=0.2-0.3 ml or not more than 1% of body weight. Animals must be given sufficient time to recover. Both legs may be used by alternating blood draws |
50-80 micro liters of blood per 10 grams of body weight *1 single sample=0.2-0.3 ml or not more than 1% of body weight. Animals must be given sufficient time to recover. Both cheeks may be used by alternating blood draws |
| Rat | 5-10ml, 21- 23 Gauge needle | 0.5 ml, <23 Gauge needle | Max volume 2.5mls per 250 g body weight | *1 single sample= 0.5-1.0 ml. average Or 2-3 mls. not to exceed 1% of body weight. Animals must be given sufficient time to recover. Both legs may be used by alternating sites | *1 single sample= 0.5-1.0 ml realistically. Or no more than 2-3 mls. not to exceed 1% of body weight . Animals must be given sufficient time to recover. Both cheeks may be used by alternating sites |
